| Description |
The Portable Arena System(PAS) is the battleground for the BattleBricks robots. We wanted an arena
that was easy to build, durable, portable, and overall, cheap as dirt. We got it in the PAS.
All you'll need to construct your own PAS is some double-walled corugated cardboard, lots of
duct tape, a utility knife, a straight-edge (very helpful), a ruler, and time. The following
shows you how to get it all together.
|
| Assembly
instructions |
Throught the magic of ASCII art, here's the layout:
           ____ <- Face 1
          /|
 Back->  / | <- Face 2
        /__|
         ^ Base
Use this handy-dandy calculator to figure out how much cardboard you'll need for your application: Battlebricks uses a wall height of 7 inches
The wall is a triangle and Face 1 folds down over Face 2 to make the double thick face. Also, the back is just a wee
bit longer than it would be in a perfect trangle so that Face 1 can comfortably fold over Face 2. (That was a problem with the double thick cardboard.)
Note: This extra bit is already taken into account in the above calculator!
To assemble:
- Measure out the sections on the cardboard on what you want to be the front of the wall.
- Cut 1/2 of the way through the cardboard on each of your marks. You just want to cut the top so that the cardboard will fold nicely.
- Make all of the cuts in this manner
- On the back of the cut, place a strip of duct tape to reinforce the cut.
- Fold the wall section up and place a strip of duct tape on all of the cuts. This will make the joints much less likely to rip.
Note:We used big furniture boxes to make the wall sections. They already had one fold (between Base and Face 2) for the box top. We used that
built in fold to avoid making three cuts.
|
| Pictures |
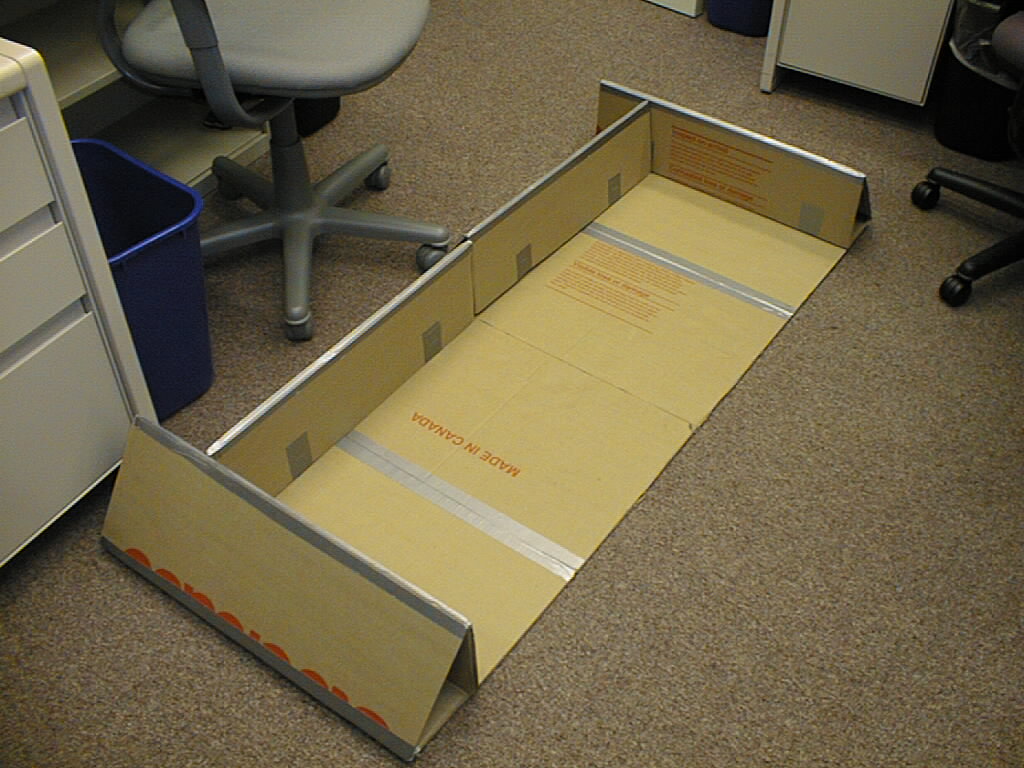 |
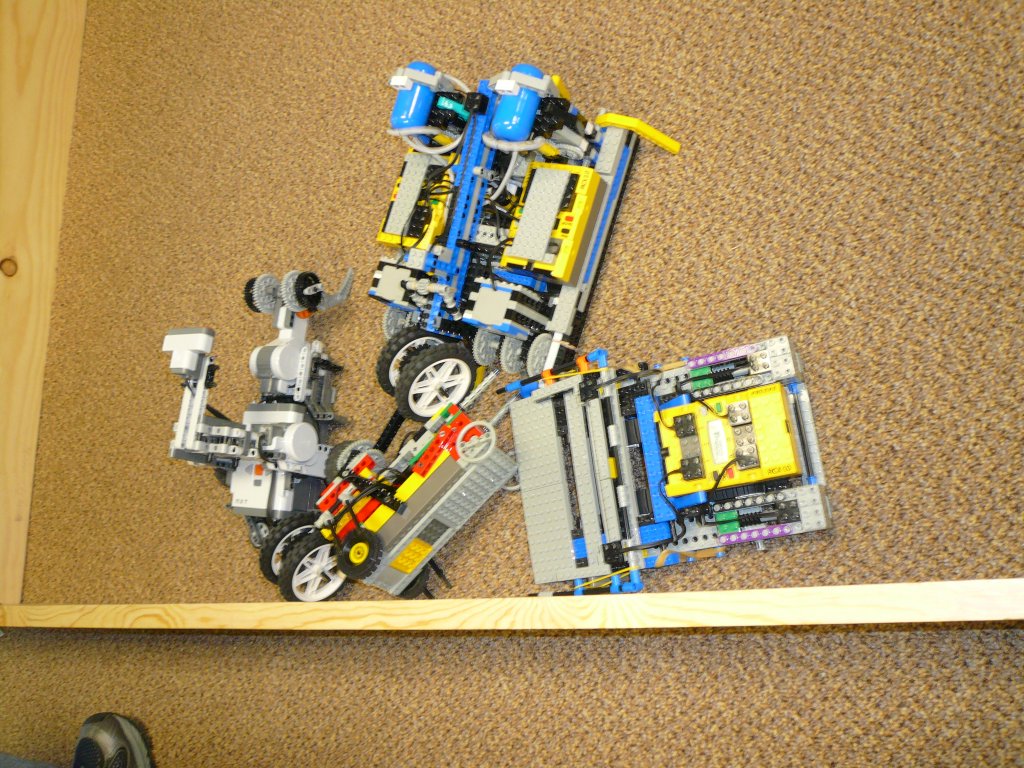
This is one half of the portable arena system. We didn't have enough room to
set it all up and still take a picture. |
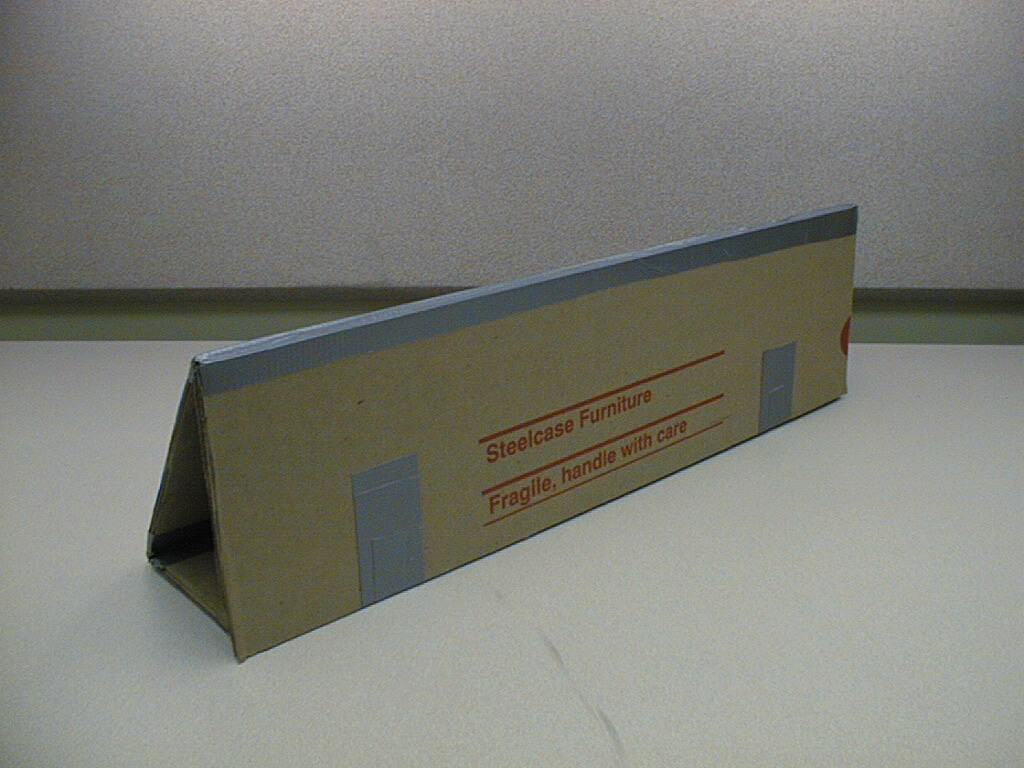 |
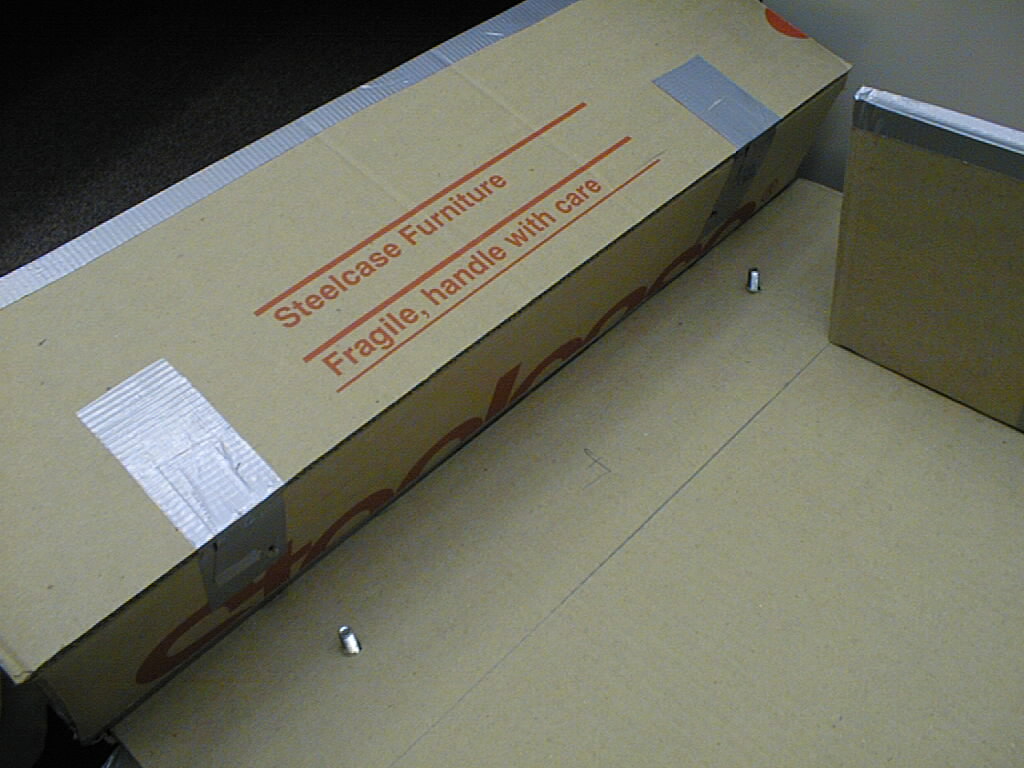
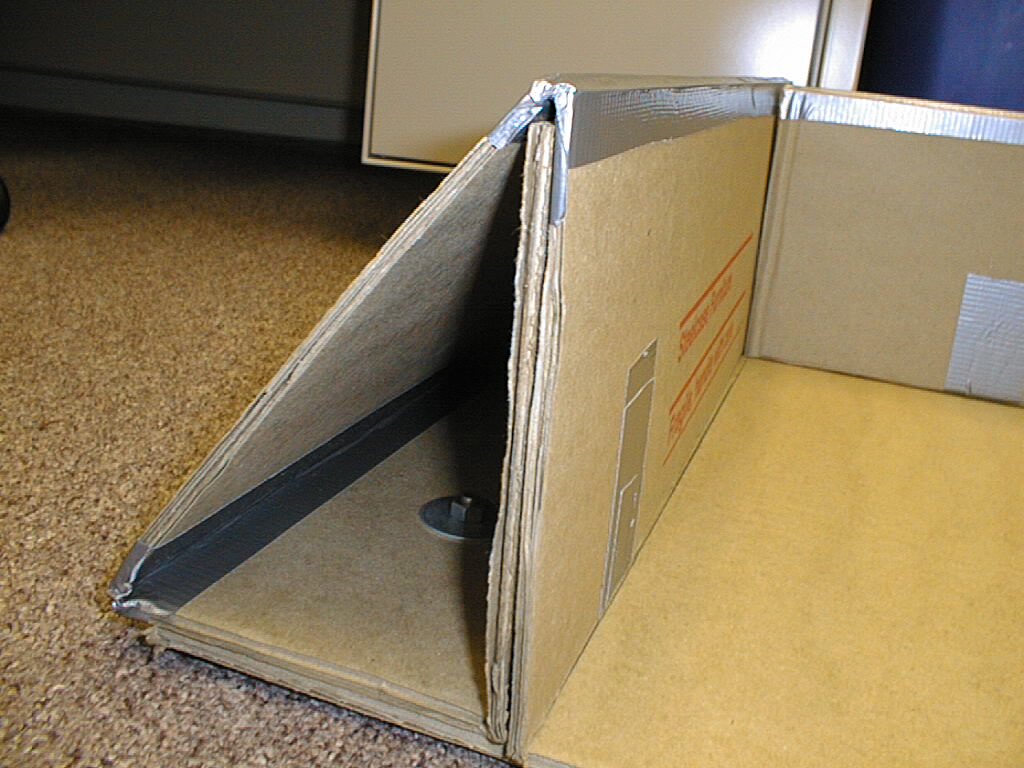
This is the basic element of the PAS, the wall structure. It's triangular shape and doubled up
face allow it to stand up to the most violent battles. Note:We are in no way affliated with the Steelcase Corporation, they just make nice big boxes... |
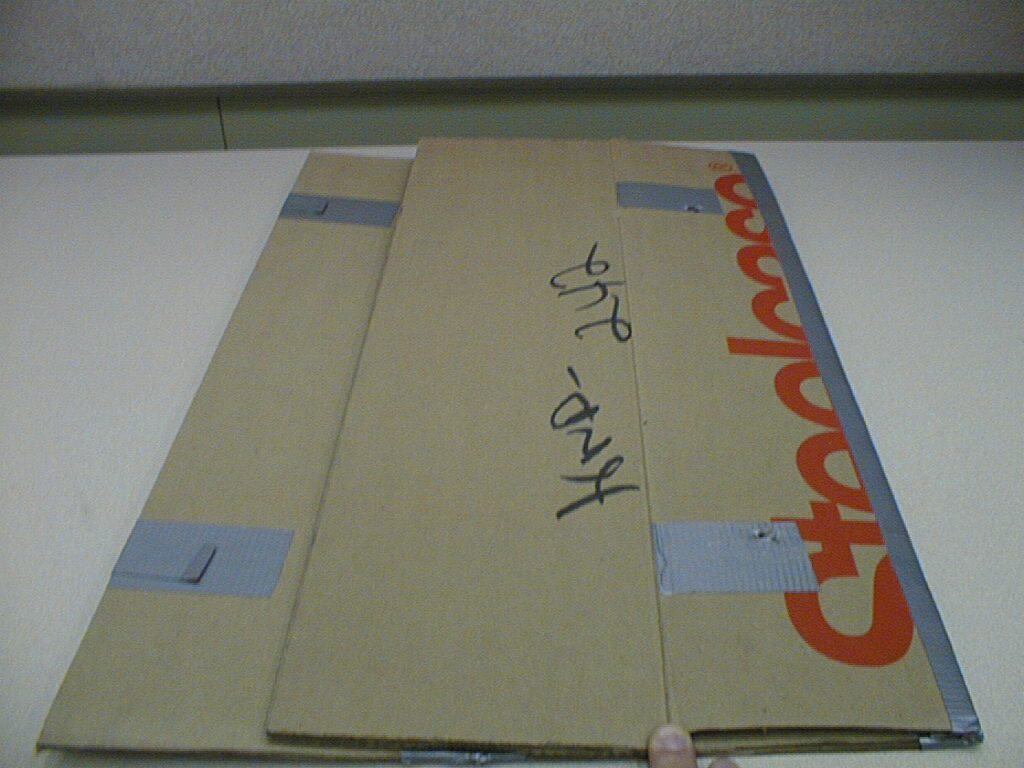 |
This is the wall folded up. It's pretty flat. |
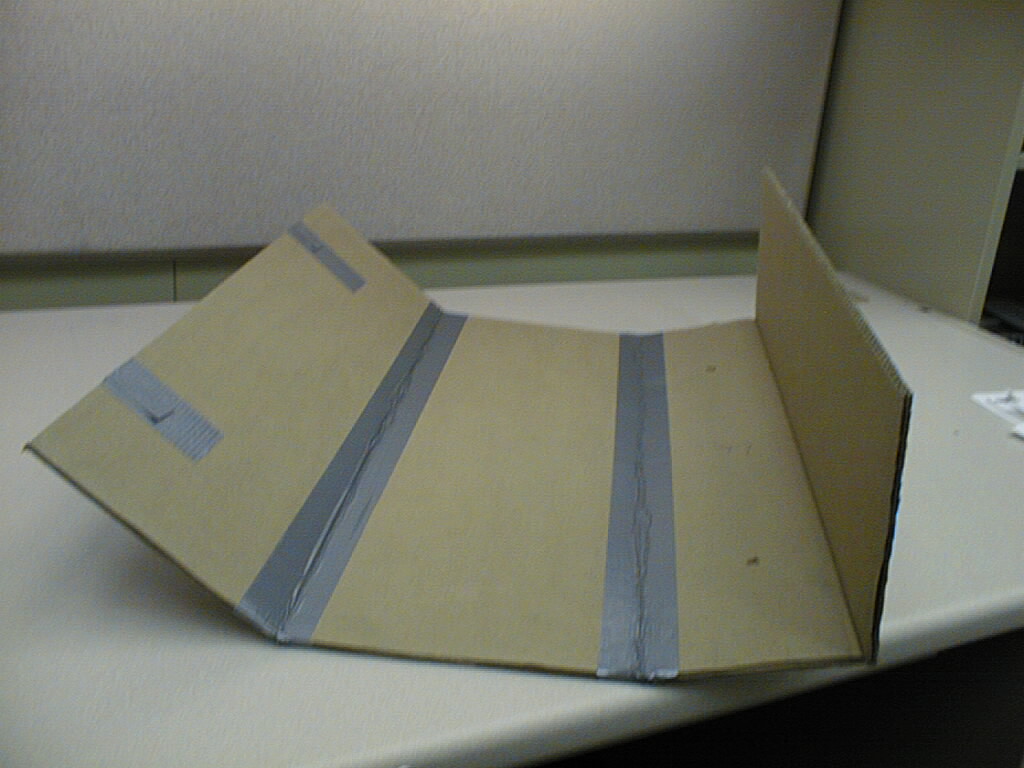 |
Here's the wall unit completely unfurled to show you the sections that make it up |
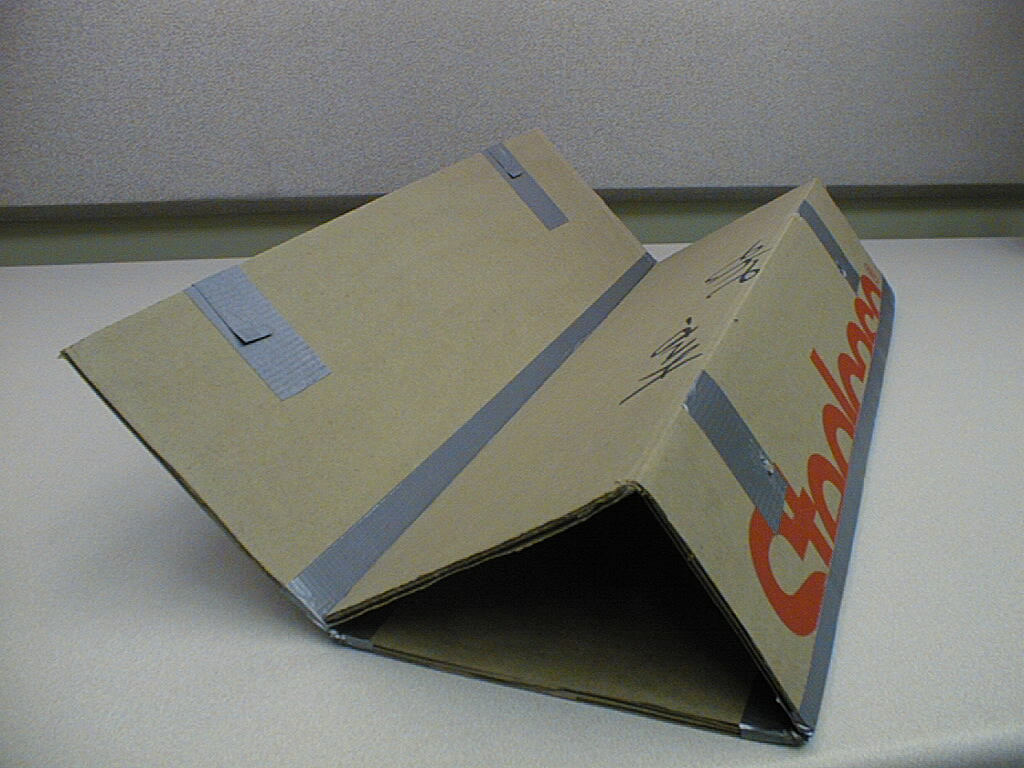 |
This is one step into the assembly of the wall. Notice the triangle shape and how the face
folds over the front of the wall to make it doubly thick. |
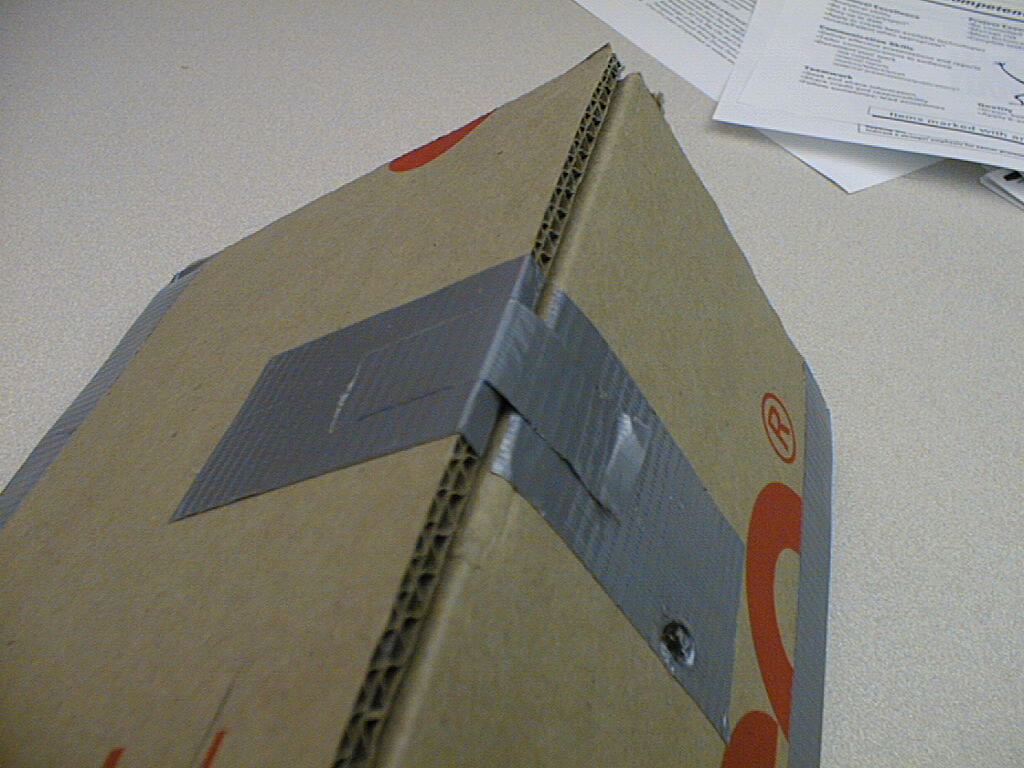 |
Here's a detail of the duct tape clasp that holds the wall together. The extra duct tape allows
easy removal and reapplication. (It doesn't rip the cardboard this way...) |
 |
This is a detail of how the walls fit onto the arena floor. We used 1/4" nuts and bolts with the biggest washers we could find
to prevent the tightening of the nuts from ripping through the cardboard. (Notice the holes punched in the bottom of the wall section) |
 |
This is a close-up of how the wall fits onto the arena floor. Notice how the nut and washer secure the wall...well, securely. |